The best way to generate more eco-friendly power is by switching to a solar energy system. This system uses renewable energy to power your home, allowing you to live more sustainably.
That being said, installing solar PV panels can be a lot of work, especially for the ordinary person.
Here’s a complete guide on how to install solar panels with ease.
7-Step Solar Panel Installation Process

Solar panel installation requires proper training and equipment to perform in order to prevent accidents. While it may seem complicated, the process can actually be divided into seven steps.
These are the seven steps for a successful solar panel installation.
1. Set Up the Scaffolding
Scaffolding needs to be set up before installing the solar system. This step takes up the most time to build, usually about an entire day.
These are required for the safety of the ones installing the panels.
If you’re not installing your solar panel system onto the roof, setting up any safety measures may take less time.
2. Install the Solar Panel Mounts
Once all safety measures are in place, it’s time to install the solar panel mounting system. This will hold your panels in place and provide a stable foundation for your solar system.
You’ll have to lift your roof tiles to install your mounting system onto the rafters of your loft. It must be tilted between 18 and 36 degrees so the solar PV panels can collect direct sunlight.
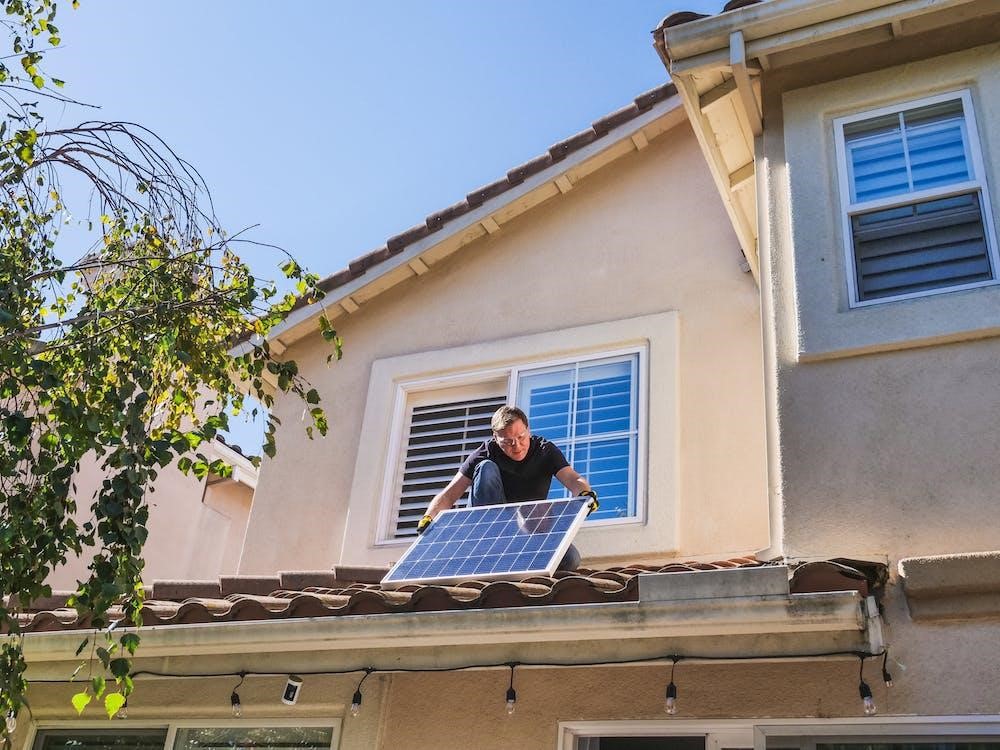
3. Mount the Solar Panels
Next, install the solar panels onto the mounting structure. Before securing them, position or tilt them properly to maximise the sun’s energy they can receive and absorb.
Ensure that you tighten all the bolts to keep the panels in place.
4. Secure the Electrical Wiring
The next step is setting up the electrical wiring, which can vary depending on the model. The most common are the MC4 connectors, which are compatible with most panels.
Most panels come pre-wired from the manufacturer for easier installation. However, it’s still best to have this step performed by a professional electrician.
SAFETY TIP: Ensure your household’s electricity is switched off before working on this step.
5. Connect the Solar Inverter
The solar inverter is installed near the main panel. It’s best not to mount this on the roof since it’s supposed to be located in a cool place without sunlight.
This part of the installation process can take about 4-6 hours, depending on the complexity of your solar panels.
It’s important to set this up properly because the direct current (DC) electricity will be converted to alternating current (AC) electricity.
Any system failures can cause fires and easily invalidate your home insurance.
You can connect a generator meter to track how much electricity you generate daily with your solar panels.
6. Bond the Inverter to the Solar Battery
Then, you have to connect your solar inverter to the consumer unit to generate electricity.
Solar batteries can be considered as an extra cost by some people. It helps store excess energy and keep your home powered even when your whole system is affected by cloudy days.
Once everything is connected to the consumer unit and grid input, you can check the connected generation meter for its performance.
You can also use a computer to verify that your panels collect enough energy to power your home.
7. Test the Newly Installed Solar Panels
The installation process isn’t complete until you’ve tested the panels.
Switch the power back on and monitor each part. Ensure everything works and is properly producing energy.
Factors to Consider Before Installing Solar Panels
There are many factors to consider when installing solar panels on your roof. Besides checking if you have a home suitable for solar/thermal energy, you’ll also have to check on the other factors involved in the installation process.
While switching to solar power has many potential benefits, it’s best to ensure that it’s the right renewable source for reducing your carbon footprint.
You need to consider these factors before installing solar panels in your home.
Cost
Many are hesitant to invest in solar panels because of their price. Maintenance can also affect the overall price of your system.
However, it’s important to consider that while the initial investment is high, its effects on your energy bills and compensation from the government can make up for that.
Remember that government compensation can vary depending on where you live and how the feed-in tariff changes.
Equipment
Solar installation requires a lot of equipment. Besides your panels, ensure that you have the following:
- Charge controller
- Solar battery or battery storage
- Power inverter
Acquiring other safety equipment should also be in mind when listing the equipment that you’ll need.
System Size
The system size can easily be computed to find the right set for your needs.
Add up the electrical wattage of all your electrical appliances and how long you use them in a day.
Knowing your home’s wattage requirement helps you determine how big your battery bank should be. It also prevents any overheating when transferring power to these batteries.
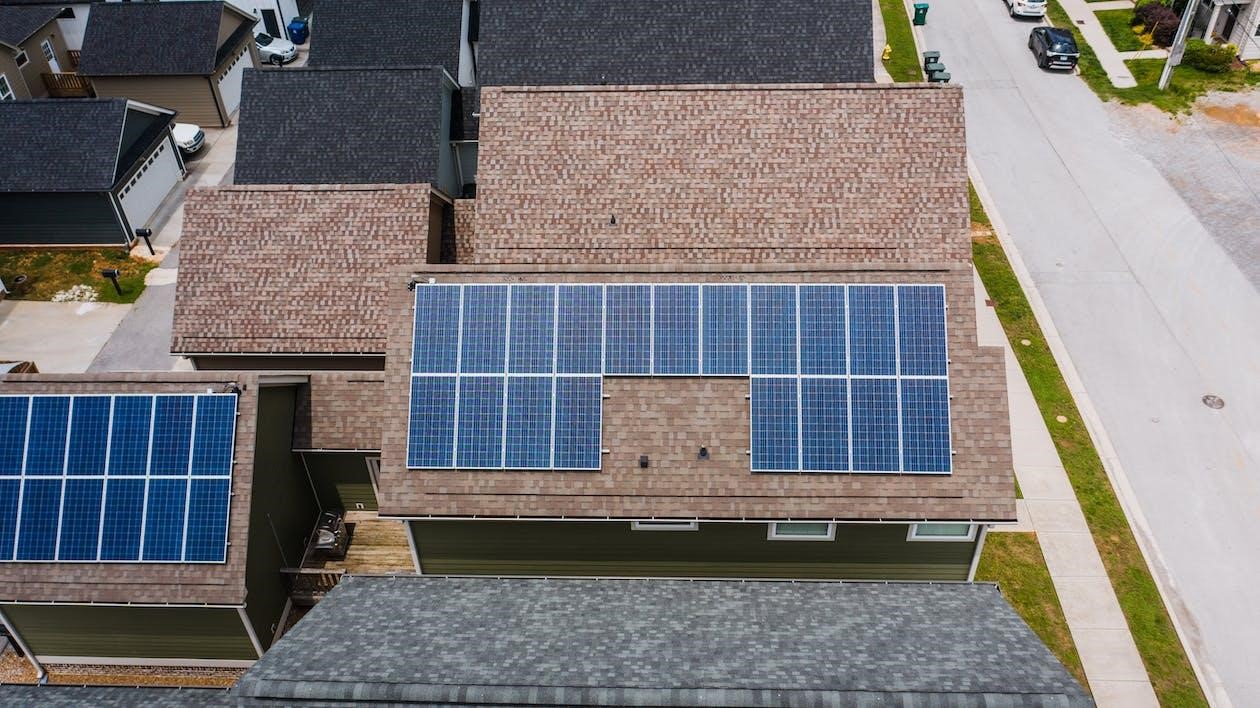
Proper Solar Panel Position
It’s also important to factor in how you position your solar panels. The best place to do that is on the roof for better access to sunlight.
Typically, solar panels installed on a south-facing roof get maximum sunlight compared to east or west-facing roofs.
Other configurations are also available, depending on your surroundings.
If you have a flat roof, you would have to install panels in a tilted manner. On the other hand, naturally tilted locations don’t require much adjustment to how you install solar panels.
Safety
Since installation is usually on the roof and requires electrical work, safety is one of the top priorities. It’s why leaving it to the professionals is the most common recommendation.
Scaffoldings need to be installed to provide the best support to the workers installing the panels.
Not only will you be able to prevent fires and accidents, but it will also ensure you comply with all safety measures and local ordinances.
Types of Solar Panel Mounts
The mounting structure of your solar panels can affect how efficient they are. Your mounting type usually depends on your environment and where you plan to install them.
These are the most common ways to mount your solar panels:
- Pole Mount: This type holds the panel in an elevated manner using a pole for better exposure to the sun. It usually angles it to a certain degree for better solar coverage.
- Roof-Ground Mount: This type can be flat or sloped for the ground or roof. It’s one of the most common and effective ways to mount your panels for maximum sunlight.
- Flush Mount: This type is best for areas with lots of wind because it provides more flexibility and minimal interference from roof drains.
It’s also important to consider how your panels are mounted for optimal performance. It can easily affect how well your panels catch the sunlight.
How Long Does It Take to Install Solar Panels?
The standard for solar panel installation is about two days, depending on the conditions.
Most of the time is spent installing the scaffolding and other required safety features.
Factors such as the complexity of the solar panel system and the weather can also affect the duration of the installation process.
Can I Install Solar Panels Myself?
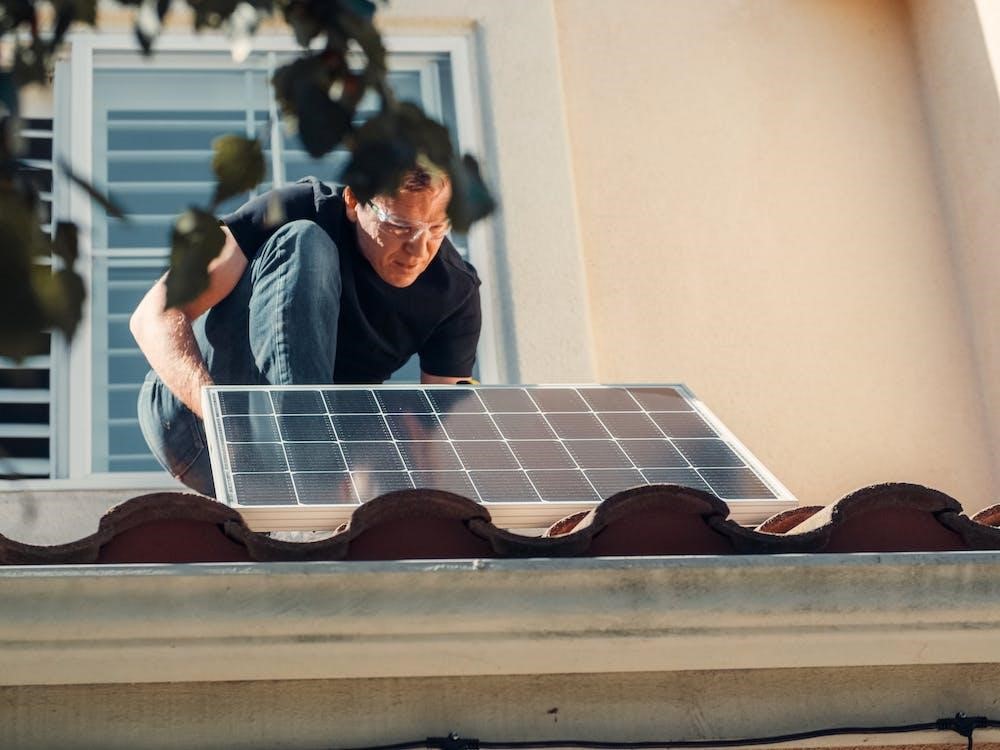
It’s possible to install solar panels on your own. However, this is HIGHLY DISCOURAGED for safety and efficiency reasons.
It’s best to leave solar panel installations to professionals to lower the risk of accidents and to get the most out of the solar system’s performance.
Since solar panel installation is also considered “permitted development,” you need planning permission to set this up.
When Should I Call for Professional Help?
Unless you’re a trained solar panel installer, immediately calling a professional is a great idea because it ensures the installation process is done correctly.
Solar companies have professionals with the advanced skill set necessary for this type of work. They can also advise you on the incentives you can receive for making this switch.
Performing a DIY installation would still require hiring an installation expert for some parts. Overall, it’s best to leave solar installations to the professionals.
Frequently Asked Questions (FAQs)
You might have more questions about solar panel installation.
We’ve gathered the most common questions to help you with further research.
How Many Solar Panels Do I Need to Power My House?
The size of your solar system will depend on your house’s size and how much electricity you need.
The average solar system covers around 1500 square feet of your roof and requires 15 to 18 standard solar panels. You may have to consider the size of your roof to ensure it fits properly.
It’s also best to consider how much energy your household consumes. This energy usage can vary for each household.
What Are the Best Solar Panels for Home Use?
Solar photovoltaic panels (PV panels) are some of the best and most common types for home use.
They effectively gather energy and are often more affordable than other solar panels.
In terms of aesthetics, they tend to look well on any roof. Its appearance is something people factor in to see if it’s appropriate for their home.
Conclusion
Installing solar panels is the first step to energy independence. From lower electricity bills to a more positive environmental impact, this upgrade is quite possibly worth the price.
See if you can switch to solar energy and improve your household’s energy consumption.